
Assistive Touch
|
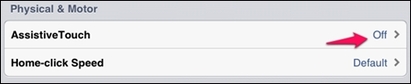
1. Assistive Touch must be turned on in Accessibility Settings under Physical & Motor. |
|
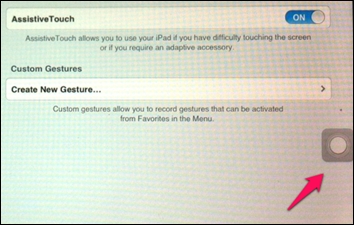
2. When Assistive Touch is turned on, the Assistive Touch button appears on all screens, as shown here on the right. Turning on Assistive Touch also offers the option of creating new gestures (more about this below). |
|
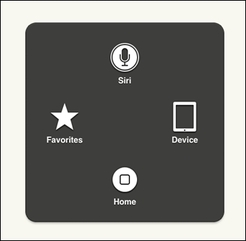
3. Tapping the Assistive Touch button opens the main menu for Assistive Touch.
|
|
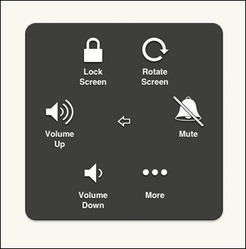
4. Tapping the Device button in the main menu opens the Device Menu shown here, offering single touch options for controlling volume as well as for screen orientation and locking. |

|
5. Tapping the More button in the Device Menu, brings up the menu shown her, offering single touch access for taking a screenshot, completing operations that require shaking the device, and opening the multi-task bar. There is also a button that opens the Gestures Menu, to select two, three, four, or five finger tapping. |
|
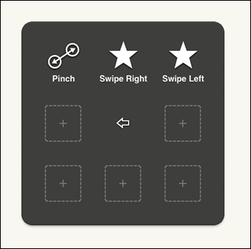
6. Tapping the Favorites Button on Assistive Touch's Main Menu, opens the screen where a user can select one touch access to specific gestures that have been created and saved to Assistive Touch. Up to 7 user-created gestures may be saved. The pinching gesture is saved to Favorites by default. |
|
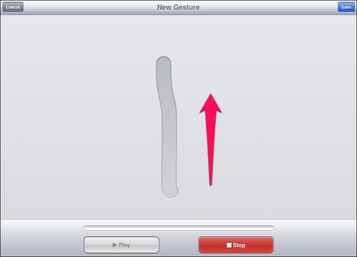
7. Shown here is the screen for creating and saving new gestures in Assistive Touch. An upward swipe gesture is illustrated here. The process is easy. Press play, make the gesture on the screen, press stop, save and then give the gesture a name. |